
Last updated October 31, 2026
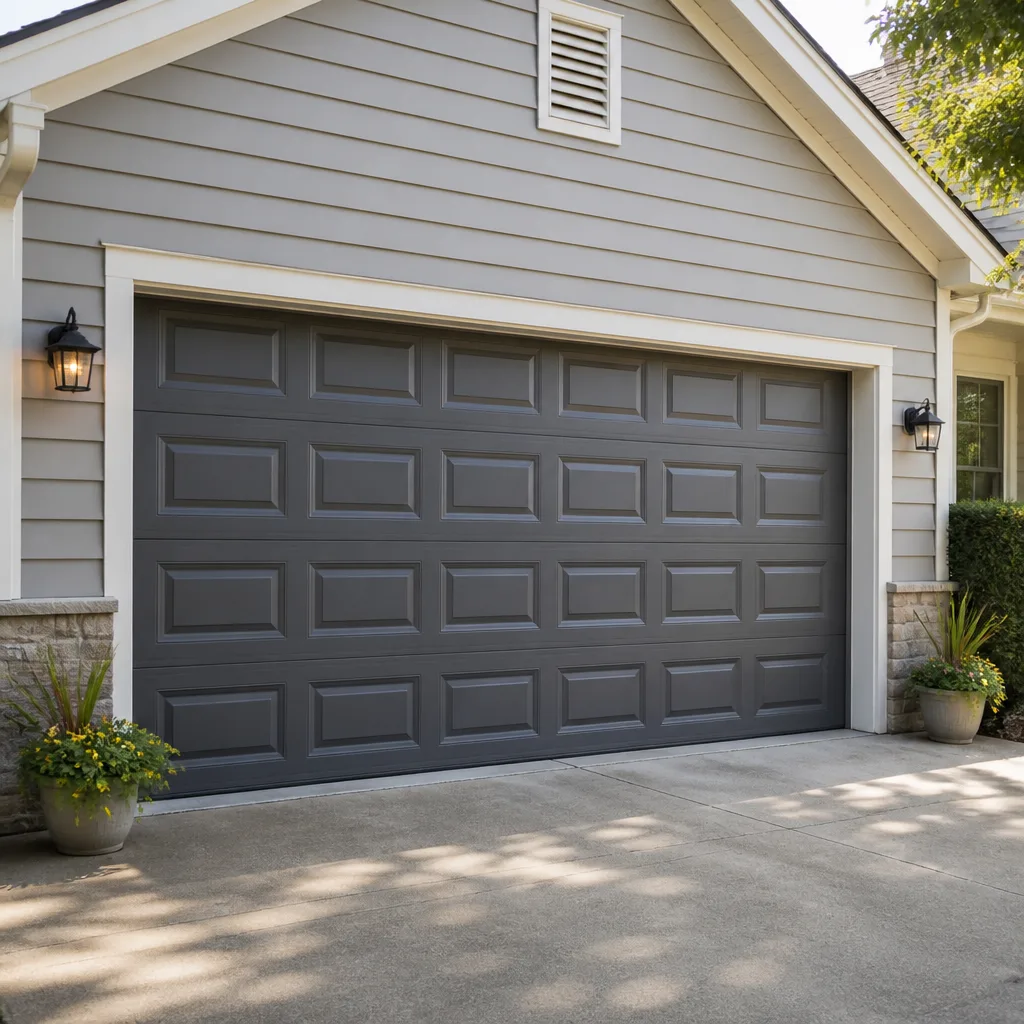 Raised-panel steel
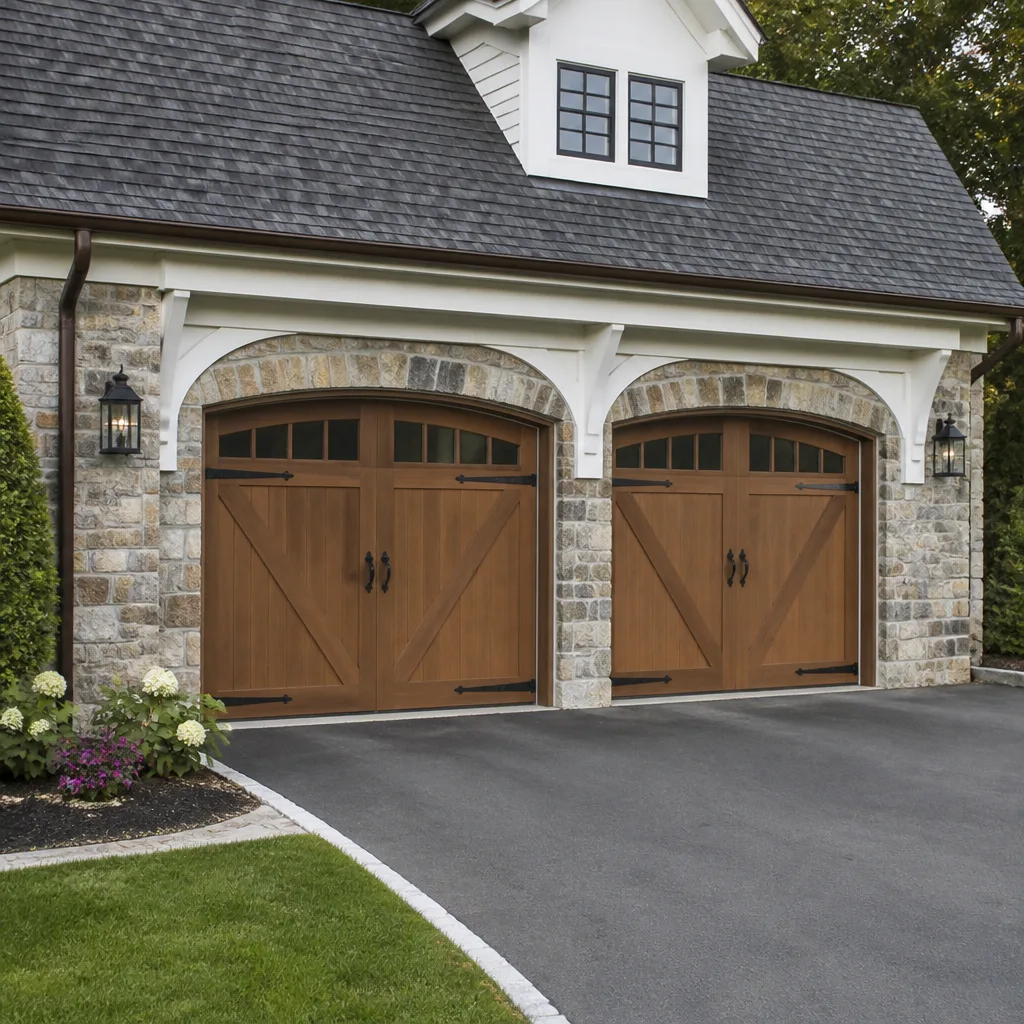 Carriage house
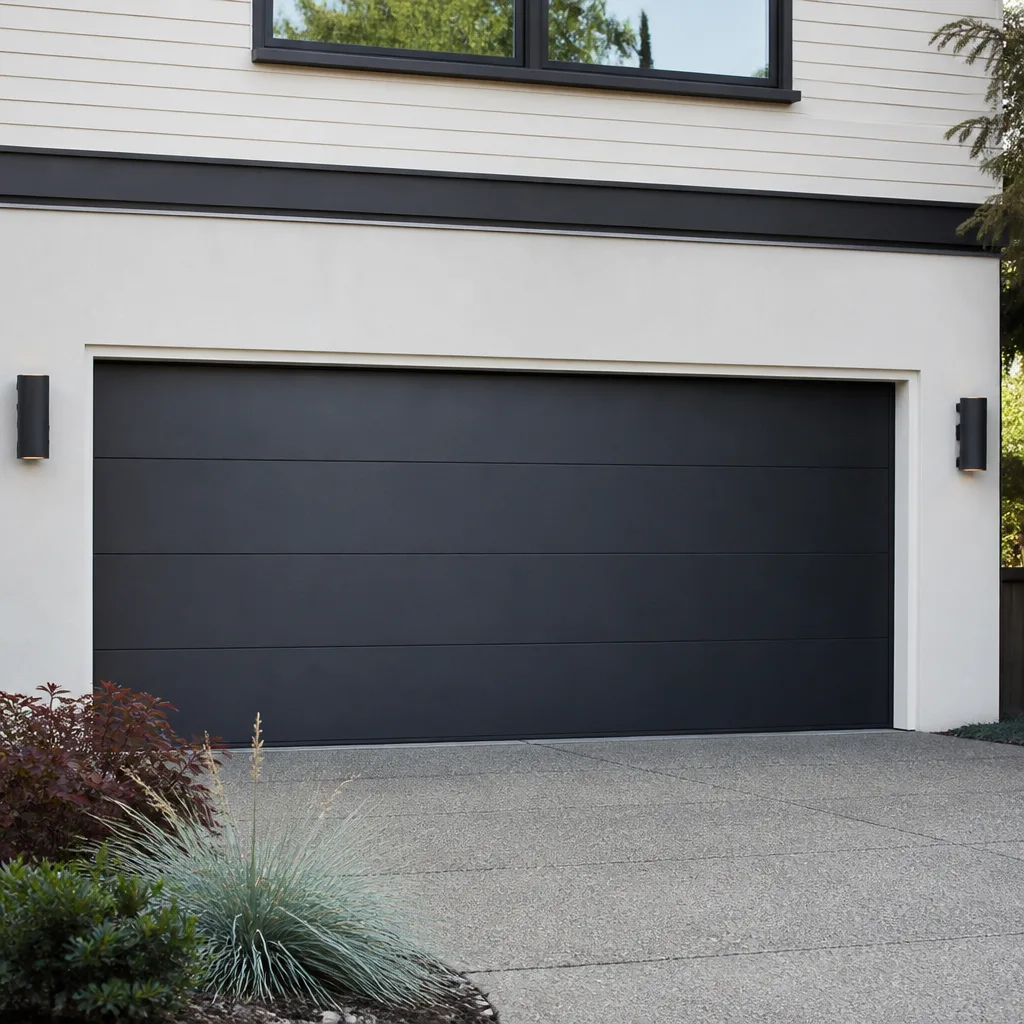 Modern flush
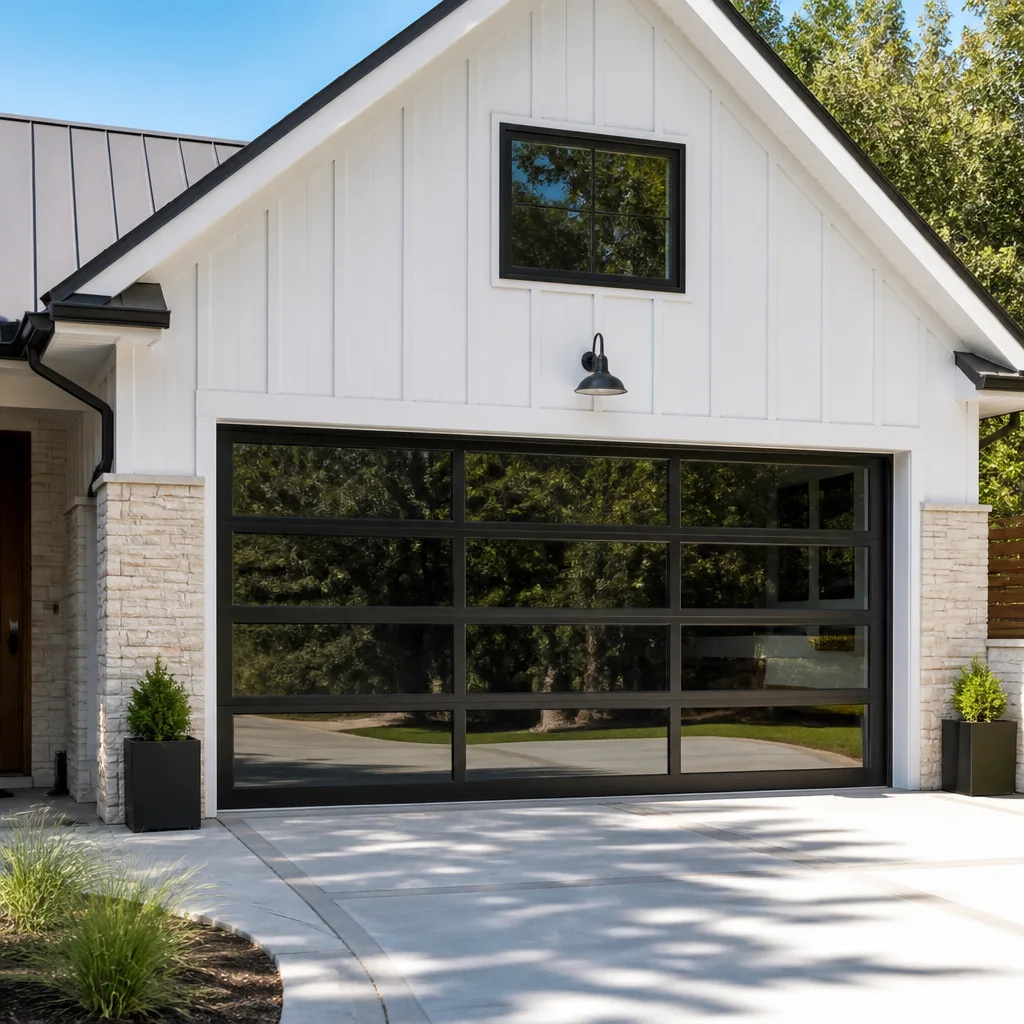 Full-view glass
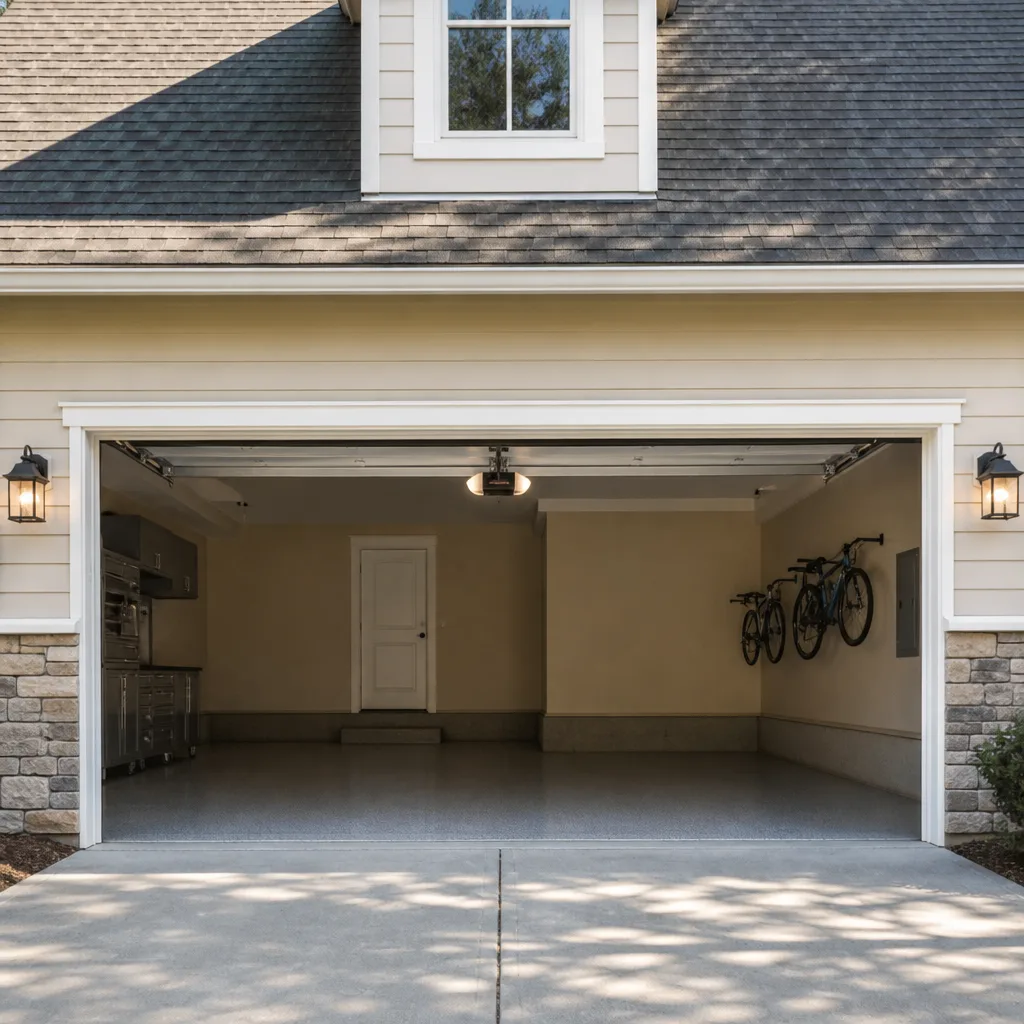 LiftMaster openers
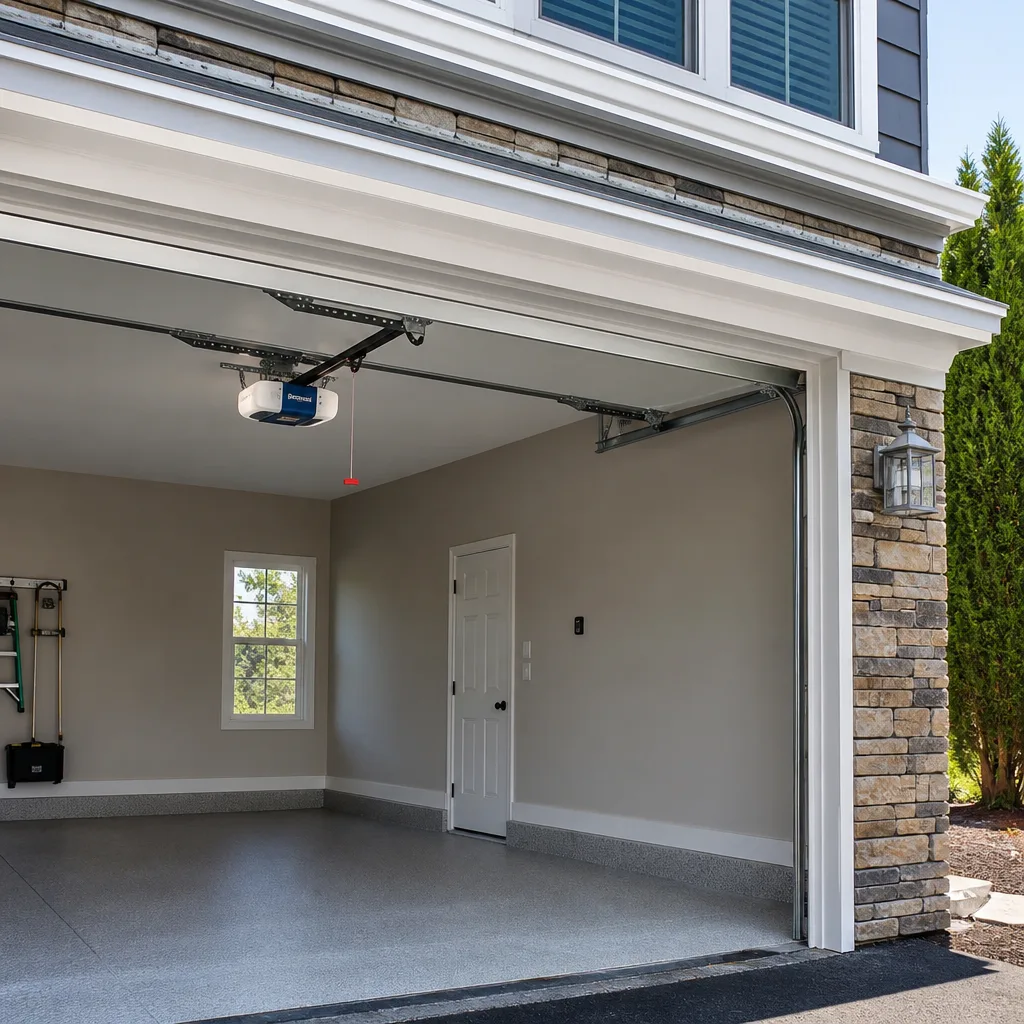 Chamberlain openers
Full 25-point door and opener safety check with every visit - springs, cables, rollers, tracks, and your LiftMaster or Chamberlain opener included
You get a price before we start. It does not change when the truck arrives.
Get your free estimateDIY vs Professional Garage Door: The Grand Rapids Homeowner’s Decision Guide
Every year, roughly 20,000 Americans land in the emergency room because of garage door injuries, and the culprit is almost always the same: the torsion spring. That single component holds hundreds of pounds of stored kinetic energy, enough to break bone on release. Yet a torn rubber seal along the bottom of your door? That’s a Tuesday afternoon job costing about fifteen bucks. The problem with most garage door advice is that it paints with one brush. Some tasks genuinely belong in your hands. Others belong in the hands of someone who has done them a thousand times. This guide, written for Grand Rapids homeowners specifically, draws that line clearly, so you stop overpaying for simple fixes and stop risking your fingers on dangerous ones. For more guides & resources, explore our blog.
Styles & brands we work with
Quick Answer
Most homeowners can safely handle tasks like weatherstripping replacement, sensor alignment, track lubrication, and remote reprogramming. However, torsion spring replacement, cable repair, and panel realignment are genuinely dangerous and should be left to a professional. In Grand Rapids, where winter cold adds extra tension to every metal component, the margin for error on DIY repairs shrinks further.
Table of Contents
- The Tiered Task List: What’s Genuinely DIY and What’s Not
- How Grand Rapids Winters Change the DIY Equation
- The Tool Cost Breakdown: When DIY Actually Costs More
- What Voided Warranties Look Like in Practice
- The Spring Problem: Why This One Component Changes Everything
- Opener Repair: The Electronics Graveyard
- Common Mistakes to Avoid
- When to Call a Professional
- Frequently Asked Questions
- The Bottom Line
The Tiered Task List: What’s Genuinely DIY and What’s Not
We’ve organized every common garage door task into three categories based on a simple formula: injury potential, cost of getting it wrong, and special tools required. This isn’t about your competence as a homeowner. It’s about physics and money. A Ph.D. in mechanical engineering without a winding bar is in more danger from a torsion spring than a careful novice with the right training and tools. What matters is the task, not the person.
Tier 1: DIY-Safe Tasks (No Special Tools, Low Injury Risk, Hard to Do Expensive Damage)
- Weatherstripping and bottom seal replacement: The rubber strip along the bottom of your Grand Rapids garage door rots, cracks, and freezes. You’ll know it needs replacing when you see daylight under the door or feel a draft. This is a slide-out, slide-in job on most doors. Cost at local hardware stores like Home Depot on 28th Street: $12 to $25 for the seal. Time: 20 to 30 minutes.
- Photo-eye sensor realignment: If your door reverses immediately after touching the ground, the safety sensors near the bottom tracks are likely misaligned. A quick loosen-tighten of the mounting bracket usually fixes it. No parts needed. You’ll just need a screwdriver and maybe a level.
- Track and roller lubrication: A can of white lithium grease or silicone spray costs under $10. Spraying the track hinges, rollers, and the opener rail takes 15 minutes and prevents the wear that leads to more expensive repairs. In Grand Rapids, the salt and wet snow that drips off vehicles accelerates rust. A once-a-year lubrication makes a real difference.
- Remote and keypad reprogramming: If your LiftMaster or Chamberlain remote stopped working after you changed the battery, the issue could be a reset code. Most openers have a “learn” button on the motor unit. The owner’s manual walks you through the pairing. No tools, no risk, no reason to pay for a service call.
- Visual inspection: Once a season, look at the springs, cables, and brackets. You’re not fixing anything. You’re just identifying wear before it breaks catastrophically. If you see frayed cables or a gap in a spring, that’s a signal to call, not to touch.
Tier 2: DIY-Possible With Research (Moderate Risk, Requires Patience, Potential for Frustration)
- Noisy operation diagnosis: That grinding or squeaking sound could be dry rollers, a misaligned track, or a failing opener gear. You can narrow it down with careful observation. But diagnosing and fixing are different things. If you misidentify the cause and start adjusting things, you can make a small problem bigger.
- Wood panel repair on a carriage-style door: If you have a traditional wood door in a neighborhood like Heritage Hill or Eastown, you might feel comfortable filling and repainting a rotted panel. This is less about the garage door system and more about general woodworking skill. The risk is that you disturb the door’s balance while removing panels, which then puts extra stress on the springs.
- Opener gear and sprocket replacement: If your Genie or Chamberlain opener makes a humming sound but the chain doesn’t move, the plastic drive gear inside the motor housing may have stripped. Replacement kits exist online for $20 to $40. The repair involves disassembling the motor unit. If you’re comfortable with small mechanical parts, it’s possible. If you reassemble it wrong, the opener could burn out entirely.
Tier 3: Never DIY (High Injury Risk, High Expensive-Damage Risk, Special Tools Required)
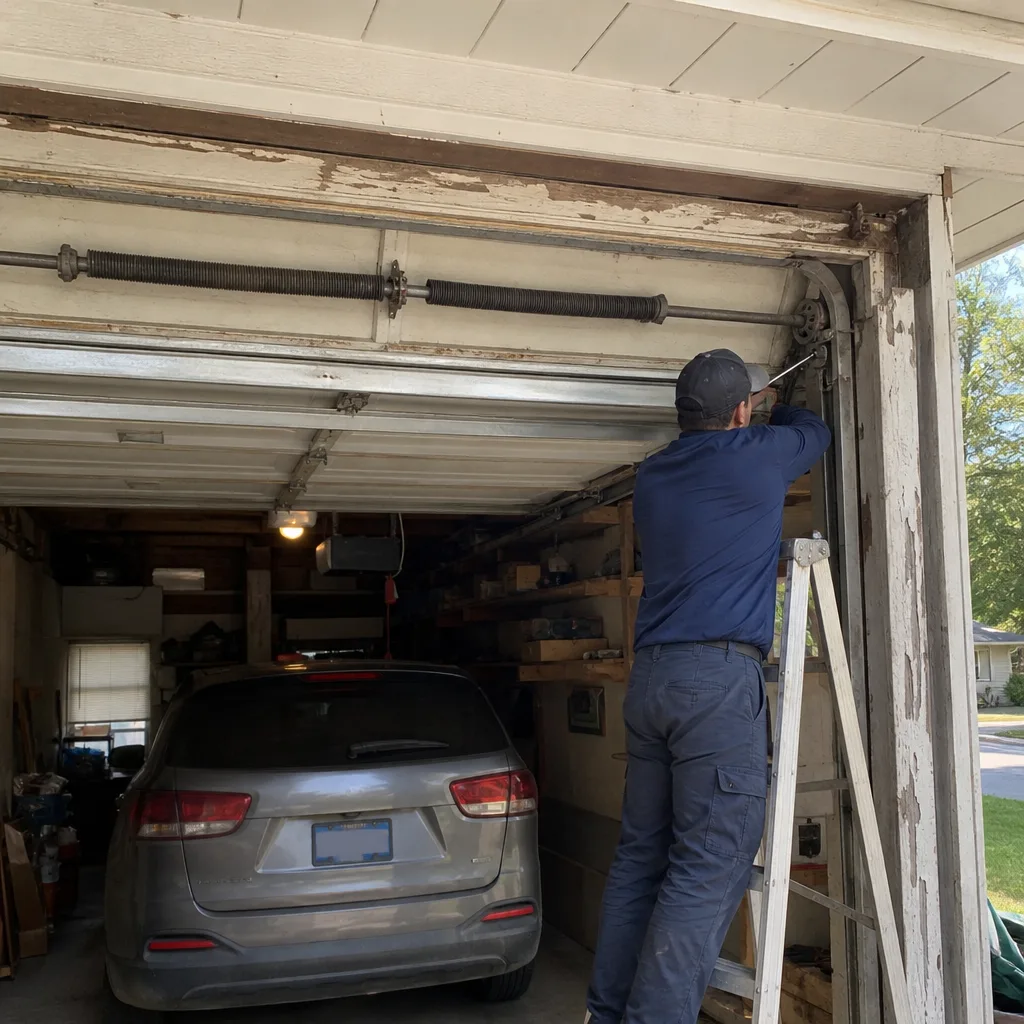
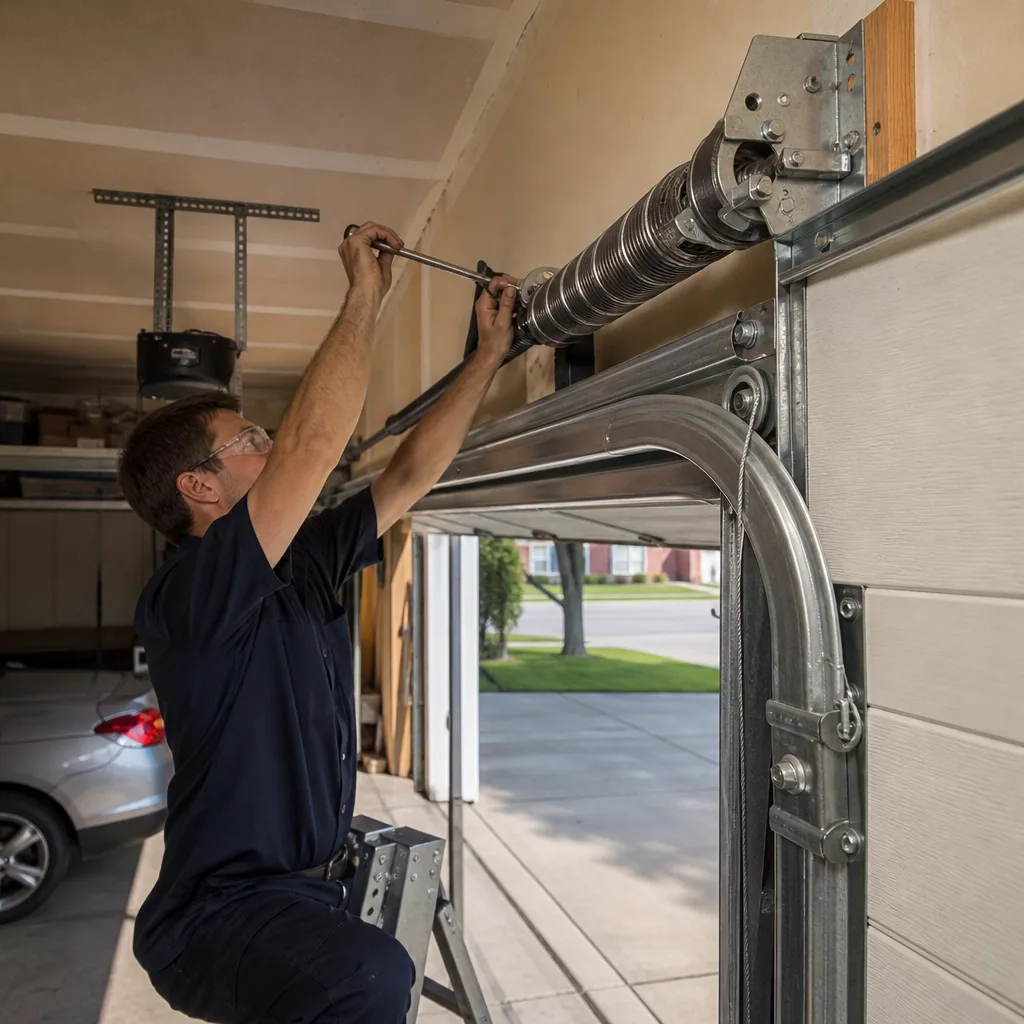
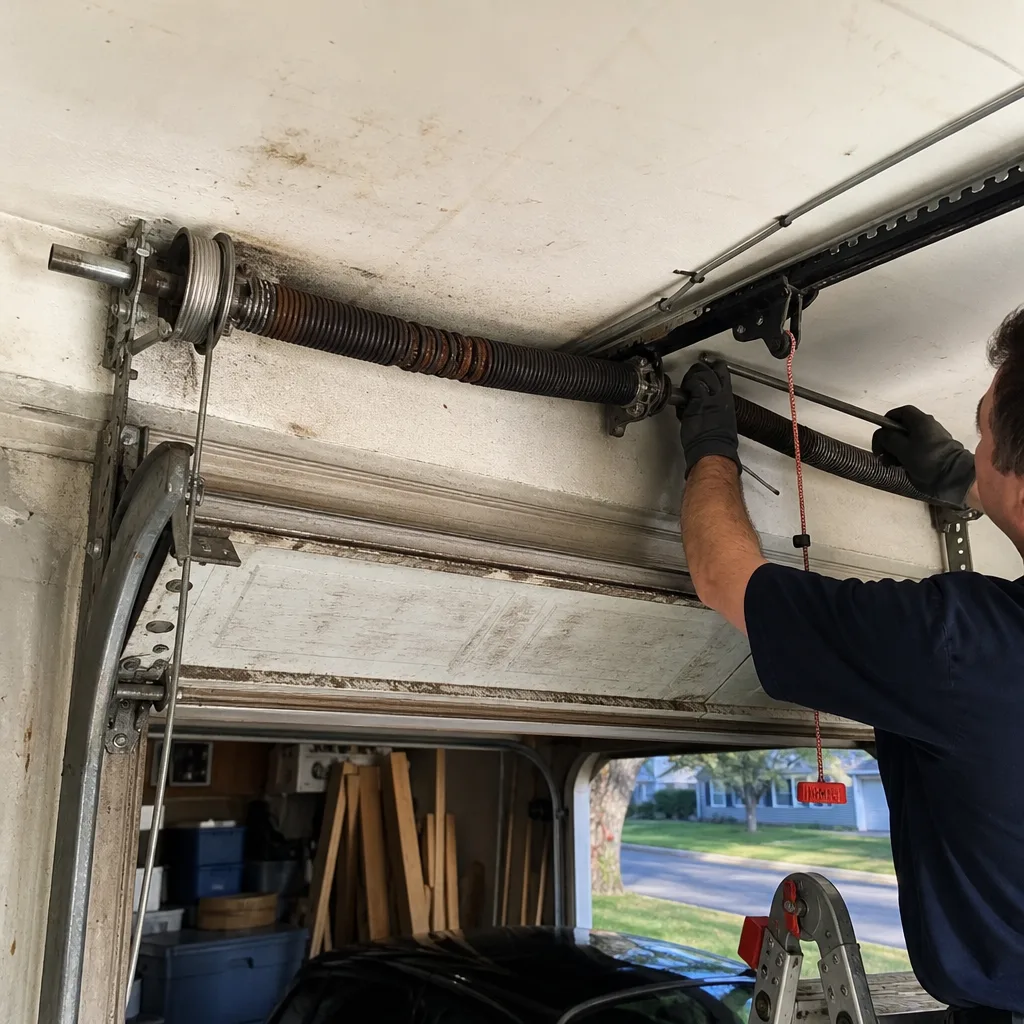
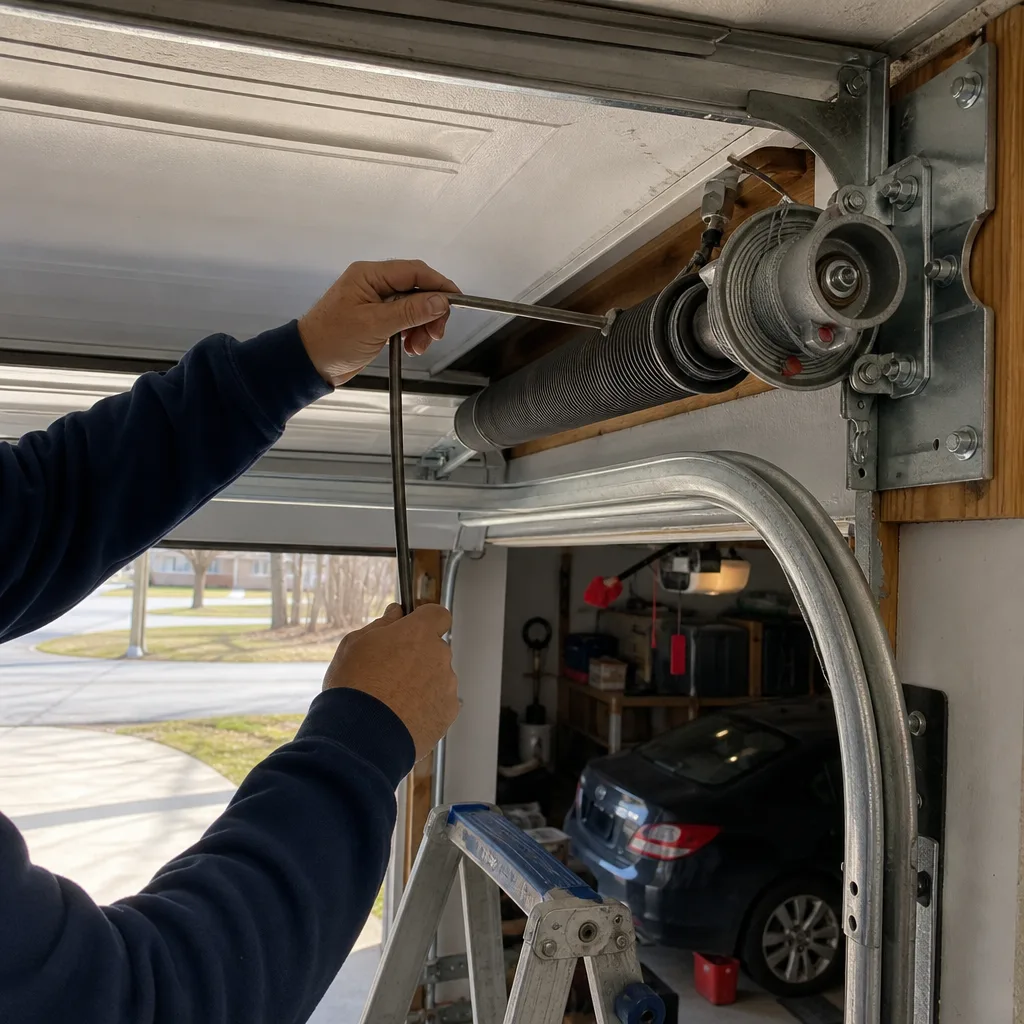
- Torsion spring replacement: The spring above the door opening, not the two on the sides, holds enormous tension. Winding bars, which are steel rods inserted into the winding cone, are the minimum requirement. Even with them, a slip can send the bar into your face. Most garage door professionals have seen or know someone who has been injured by a tension spring. This is the number one thing to never touch.
- Extension spring replacement: The springs on the sides of the door are just as dangerous. They connect to cables that run through pulleys. When one breaks, the other is often close behind. Replacing them requires precise measurement of the door’s weight and the correct spring rating. A wrong spring turns the door into a missile.
- Cable repair: The cables work in tandem with the springs to lift the door. When a cable snaps, the door becomes uneven, and the remaining cable takes double the load. Working on cables means working near the spring system, which means you’re back in danger territory. Never touch a cable without first unwinding the springs, and if you don’t know how to safely unwind a spring, you shouldn’t be near the cable.
- Panel replacement on a multi-panel door: If a car tap dents a bottom panel, replacing it sounds straightforward. It’s not. The panel is part of a larger tensioned system. Removing it shifts the door’s weight and balance, which changes what the springs are calibrated for. Get the calculation wrong and the door can slam shut or refuse to stay open.
- Track realignment or replacement: A track that’s out of alignment can cause the rollers to bind and the door to jump the track entirely. Bent tracks require precise bending back or replacement, and the track is under tension from the door’s weight and the spring system. This is not a hammer-and-wrench job.
The takeaway is simple: if the task involves the spring, the cable, the track, or the panel structure, call someone who does this for a living. If it involves rubber, sensors, batteries, or lubricant, you’re probably fine on your own.
How Grand Rapids Winters Change the DIY Equation
Grand Rapids doesn’t just have a winter. It has a five-month cold season where the temperature swings from freezing to below zero and back again, often within the same week. That swing matters for garage door components. Metal contracts in the cold. Rubber becomes brittle. Grease thickens. A spring that’s been set to the correct tension in July is under different stress in February. That’s not a theory. It’s material science. And it changes what you should and shouldn’t attempt on your own.
We see this every winter in neighborhoods like Alger Heights and Creston. Homeowners who successfully adjusted a minor track issue in August find that the same adjustment fails in January because the metal has shrunk by a fraction of a millimeter. That fraction is enough to throw off the balance. A door that drifted halfway down on its own was often “fixed” in warm weather with a small tweak that winter then magnified. When the temperature drops, a slightly unbalanced door becomes a fully unbalanced door.
Cold-weather spring adjustment is a task that requires more precision than room-temperature work. Professional installers in Michigan know to calculate the door’s weight and spring tension with an eye toward the coldest expected temperature. A DIYer following a generic YouTube tutorial doesn’t have that context. The video might show a spring being wound to a certain number of quarter turns. What it almost never mentions is that the correct number changes based on the door’s weight, height, and the expected winter load. In Grand Rapids, where a single snowstorm can drop a foot of wet snow that you then shovel against the door, that matters.
There’s also the practical reality of doing car work in a cold garage. Your hands get stiff. Your patience gets short. The metal is cold enough to stick to bare skin. A repair that would be a relaxed Saturday project in May becomes a rushed, shivering job in December. Rushed work is how mistakes happen. We’re not saying you can’t do any DIY in the winter. We’re saying that any job beyond the simplest tier becomes more dangerous when your fingers are numb and the components are frozen.
The Tool Cost Breakdown: When DIY Actually Costs More
Let’s talk dollars, because the math on DIY garage door repair is not always in your favor. We’ve pulled together the realistic cost of the tools and parts you would need for common mid-tier jobs, based on what’s available in Grand Rapids at places like Lowe’s on Plainfield Avenue or online. Compare that against what a service call typically costs, and the picture changes.
For a torsion spring replacement, which is the most common “I can do it myself” job that people regret, here’s the breakdown:
- Winding bars: $25 to $40 for a pair. These are not optional. Using screwdrivers or pry bars is how people lose teeth.
- Replacement spring: $50 to $90 for a single spring, depending on size and wire gauge. Most doors need two springs. So double that: $100 to $180.
- Vice grips: $15 to $25 to lock the torsion tube in place.
- Socket set and ratchet: $30 to $60 if you don’t already have one with the right size socket for the set screws.
- Safety glasses and work gloves: $20 to $40. Not optional when winding a spring that could snap.
- Torque of patience and a second person: Free, but not always available.
Total for first-timers: roughly $190 to $345 in tools and parts. And that assumes you buy the correct spring on the first try. Get the wrong wire gauge, which is easy to do when you’re measuring an old stretched-out spring, and you’ve bought a paperweight. You then either buy another spring or you call someone. Meanwhile, a professional spring replacement in Grand Rapids typically runs in the same ballpark, with the labor built in, and includes the warranty and the guarantee that the door won’t come crashing down because a novice technique was off by a quarter turn.
For the Tier 1 jobs, the math flips completely. A bottom seal is $15 and you already own a utility knife. A can of lithium grease is $8. You would never pay a service call fee for those. That’s the point of the tiered list. The decision isn’t “do I do it myself or not.” It’s “which tasks make financial sense to do myself, and which don’t.”
What Voided Warranties Look Like in Practice
Most garage door manufacturers, including Clopay and Amarr, provide warranties on their doors. Those warranties are typically conditional. The conditions are in the fine print, and homeowners rarely read them until something breaks and the claim is denied. Let’s look at what actually voids a warranty in the real world, not the theoretical one.
A Clopay door, for example, carries a limited warranty that covers the door sections and hardware against manufacturer defects. But if the door was installed incorrectly, or if a homeowner made adjustments that caused damage, the warranty claim can be denied. The same applies to opener warranties. LiftMaster and Chamberlain openers have specific language about “unauthorized modifications.” If you open the motor housing to replace a gear and something goes wrong later, the manufacturer can point to your work as the cause. You might win that argument. You’ll probably lose it, because the manufacturer has lawyers and you have a receipt from a parts website.
What’s less known is that many local installers in Grand Rapids offer their own labor warranties on top of the manufacturer’s warranty. If a professional installs your door and adjusts your springs, that work is often covered. If you then adjust those springs yourself and something breaks, both the manufacturer and the installer are off the hook. You’ve voided two warranties with one wrench.
The most common scenario we hear is this: a homeowner calls a company because the door is suddenly heavy. They learn the spring broke. They mention they “tightened the spring a little” six months ago because the door felt loose. The professional then has to explain that the spring’s failure may have been accelerated by that adjustment, and the warranty claim is now in question. The homeowner is frustrated. The professional is frustrated. The spring is just broken.
Our honest advice: before you do any work on a door that’s still under warranty, read the warranty document. Most are available online as PDFs. Look for phrases like “unauthorized service” or “owner modification.” If you see them, you know where you stand. If you don’t understand what you’re reading, call the company that installed the door and ask directly. Better to spend five minutes on the phone than a few hundred dollars on a repair that should have been covered.
The Spring Problem: Why This One Component Changes Everything
We’ve referenced springs throughout this guide, but they deserve their own deep dive because they’re the fulcrum on which the DIY decision turns. A garage door spring is not like a car spring or a mattress spring. It’s a torsion spring, which means it stores energy by twisting, not by stretching. When fully wound, a standard residential torsion spring on a double-car garage door in a Grand Rapids home is under roughly 500 to 700 pounds of torque. That energy has to go somewhere. If you’re lucky, it goes into lifting the door. If you’re not, it goes into the steel winding bar you’re holding, which then goes into your hand, face, or wall.
The injury statistics are consistent. The Consumer Product Safety Commission has tracked garage door-related injuries for decades. Thousands of Americans each year are treated for lacerations, fractures, and amputations caused by garage door springs and cables. These aren’t boating accidents. These are people in their own driveways, doing what they thought was a straightforward repair. Many of them are experienced DIYers who had changed car brakes, built decks, and rewired outlets. The spring doesn’t care about your experience level. It cares about whether you made a mistake, and one mistake is all it takes.
Springs also fail without warning. A spring doesn’t usually wear out gradually in a visible way. It fatigues internally over 10,000 to 20,000 cycles. One day you open the door, and the spring snaps. If you’re in the garage when it happens, it sounds like a gunshot. That sudden failure is also what makes DIY spring work so dangerous. You’re working with a component that has already shown it can fail catastrophically. The idea of taking that component, applying more tension with steel bars, and standing directly beneath it is one that most people, once they understand the physics, decide against.
In Grand Rapids, spring failure follows a seasonal pattern. The first cold snap of the season, usually in November, triggers a wave of broken springs. We hear from homeowners in Kentwood, Wyoming, and East Grand Rapids who opened their garage door on the first freezing morning of the year and heard the snap. The metal had been holding tension through the warm fall months, and the sudden contraction from the cold was too much. It’s a predictable pattern, and it means spring work here is seasonally concentrated. It also means that a homeowner who tries to replace a spring in December is doing so in freezing temperatures with stiff fingers, which we’ve already established makes a dangerous job more dangerous.
When our technicians replace springs, they do several things a typical DIYer doesn’t. They measure the door’s exact weight. They match the spring’s wire gauge, inside diameter, and length to that weight. They replace both springs even when only one has broken, because the other is likely close behind. They torque the springs to the precise number of quarter turns the manufacturer specifies. They test the balance at multiple points in the door’s travel. And they carry the specific springs for Clopay, Amarr, Wayne Dalton, and Raynor doors on the truck, which means no trips back and forth to the hardware store. None of this is proprietary magic. It’s just the difference between doing something once and doing something for a living.
Opener Repair: The Electronics Graveyard
Garage door opener repair is a different animal from door repair, and it’s where we see the most well-intentioned DIY dead ends. The opener is a box of electronics, a motor, a drive system, and a series of safety sensors. When it stops working, the failure could be any one of those components. Diagnosing which one requires a systematic approach that most homeowners don’t have the patience for. So they buy a universal remote, replace the logic board, swap the gear, and when none of that works, they call us. Now we’re diagnosing the original problem plus the aftermath of the attempted fixes.
The most common opener symptom is “the door won’t open and the motor hums.” That’s usually a stripped gear inside the motor housing, especially on older Chamberlain and Genie units. It’s a $30 part and a two-hour repair if you know what you’re doing. The second most common symptom is “the remote doesn’t work but the wall button does.” That’s usually a programming issue or a failed receiver board. The third is “the opener runs but the door doesn’t move.” That’s often a broken carriage or a disconnected drive system. Each of these has a different fix. A homeowner who doesn’t know the difference will guess. A wrong guess on a LiftMaster opener can damage the motor beyond repair.
There’s also a compatibility issue that’s easy to overlook. Opener parts are not universal. A gear for a Genie belt-drive opener doesn’t fit a Chamberlain chain-drive. A remote for a Craftsman might not pair with a LiftMaster even though they share a manufacturer, because the frequencies and security protocols differ. We work on LiftMaster, Chamberlain, Genie, and Craftsman openers specifically, and our trucks carry the parts for each, because showing up and then ordering the right gear means a second visit and a second service call. If you’re ordering parts online, the photos all look the same. The part numbers don’t.
Our honest assessment: opener repair is not mechanically dangerous in the way spring work is. You’re not going to lose a finger inside a motor housing. But you can absolutely turn a $79 repair into a $279 replacement by misdiagnosing and then damaging the internals. If the opener is more than 10 years old, the economics shift further. A new LiftMaster or Chamberlain opener with current safety features and a quiet belt drive runs a few hundred dollars installed. Rebuilding an aging opener can cost nearly as much in parts and time. Before you sink money into an old Genie, ask whether you’re fixing the opener you have or trying to extend the life of one that’s already lived it.
That said, if the issue is a blocked or misaligned sensor, a stripped remote battery, or a keypad code, those are all in the Tier 1 category. We’re not going to tell you to pay for a service call to change a battery. We would tell you to think twice before opening the motor housing. The line is the same one we’ve drawn throughout this guide: if you can see it, touch it safely, and understand how it works in five minutes, do it. If it’s inside a sealed unit with a circuit board and a warning label, the risk-reward math changes.
Common Mistakes to Avoid
These are the specific errors we see Grand Rapids homeowners make, season after season. None of these are reasons to feel foolish. They’re reasons to save yourself some money and some pain.
- Using the wrong lubricant on the track. WD-40 is not a lubricant. It’s a water displacer. Spray it on a metal track and the door runs fine for a week, then the track gets stickier than before. Use white lithium grease or silicone spray. WD-40 on the rollers can also drip onto the door face and stain it.
- Adjusting the spring without a winding bar. The bar isn’t just for leverage. It fits into the winding cone precisely so it can’t slip out. A screwdriver or a piece of pipe is not a substitute. It’s a gamble with your face as the stake.
- Replacing only one spring. Springs are a pair. They wear at the same rate. Replacing one and leaving the other is like replacing one headlight. It works for a while, then the old one fails and you’re doing the job again. It also leaves the door unbalanced, which strains the opener.
- Skipping the balance test after any adjustment. If you’ve fiddled with anything, pull the emergency release and lift the door manually. It should move smoothly and stay in place about three feet off the ground. If it drops, it’s unbalanced. If it rises on its own, it’s unbalanced the other way. An unbalanced door kills openers fast.
- Forgetting that Grand Rapids cold changes the measurement. A door that works perfectly in October might bind in January. If you’re making adjustments based on a warm-weather test, you’re not done. The cold season is the real test.
- Buying parts based on a photo. That spring, that gear, that cable all look like the one in your hand. They might not be. Part numbers exist for a reason. Matching by eye is how you end up with a spring that’s one gauge too light.
- Declaring the opener dead before checking the outlet. This sounds obvious, but we get calls where the fix is a tripped GFCI. Before you buy a new opener, check the breaker, check the outlet, check that the opener is actually getting power. It’s the cheapest diagnostic you’ll ever do.
When to Call a Professional
You should call instead of DIY any time the task involves the springs, cables, or track. That’s the short version. The longer version includes any scenario where the door is visibly out of balance, you hear grinding or popping sounds, the door jerks during operation, or you’ve already attempted a fix and the problem got worse. If you’ve got a multi-story garage in a home on the West Side and the door suddenly feels heavy, that’s a spring problem. If your door won’t stay open and you find yourself propping it with a ladder to get your car out, that’s not a permanent solution, it’s a hazard. Sunshine Garage Door Service offers free estimates in Grand Rapids, meaning you can get an honest assessment of the problem and the cost before committing. Call (866) 491-7155 and you’ll talk to someone who can tell you over the phone whether you’re looking at a safe DIY task or something that needs a truck. That honesty goes both ways. We’ll tell you when to grab a screwdriver. We’ll also tell you when to put it down. For everything from Garage Door Repair in Kentwood to spring work across the Grand Rapids metro, the advice is the same: know the line, and respect it.
Frequently Asked Questions
Spring replacement in Grand Rapids typically costs between $180 and $340 for a standard double-car door, with the spring cost, labor, and warranty wrapped into that figure. The price varies based on the spring’s size and gauge, whether one or both springs are being replaced, and the specific door brand. Clopay and Amarr doors, for example, use different hardware than Wayne Dalton and Raynor, and the springs are matched to the door’s weight. Call (866) 491-7155 for an exact quote, because the only bad estimate is the one made without seeing the door.
You can, but you shouldn’t, because the panel is part of a tensioned system and replacing it changes the door’s weight distribution, which changes the spring calibration. If you don’t have the experience to know what that means, you don’t have the experience to do the job safely. The panel also rarely matches the existing door’s color after weathering, which is something a pro will warn you about before you order it. A mismatched panel on a house in Heritage Hill is going to annoy you every time you pull onto the street.
No, and Grand Rapids winters make it more unsafe. Cold metal contracts, which changes the tension, which means a spring that’s been adjusted correctly for warm weather may be unpredictable at sub-zero temperatures. Professional technicians account for the cold when setting spring tension. Most DIY guides don’t mention this at all. If your door needs a winter adjustment, that’s a job for someone with cold-weather experience.
A dead opener does nothing at all: no sound, no lights, no movement. A repairable opener usually gives you a symptom: the motor hums but nothing moves, the door opens a few inches then stops, the remote works intermittently. The first thing to check is the power supply, because a tripped breaker or a dead outlet can masquerade as a dead opener. If the outlet is live and the opener is still silent, you can either start replacing parts one by one, or call us at (866) 491-7155 and skip the guesswork. We carry parts for LiftMaster, Chamberlain, Genie, and Craftsman openers on the truck, so most opener repairs are resolved in a single visit. For residents across the metro, we also repair garage door openers in Kentwood and the surrounding communities.
The most common problem is a broken torsion spring, hands down. The first deep freeze of the season, typically in late November or early December, triggers a wave of spring failures across the Grand Rapids area. Homeowners in Wyoming, Kentwood, and the Northeast Side all hear the same gunshot sound and find the door won’t budge. The second most common is photo-eye misalignment, which is usually a five-minute DIY fix. We’ve covered both in this guide, so you know which one you’re dealing with before you touch anything.
It can, and often does. Most door manufacturers, including Clopay and Amarr, include language that excludes warranty coverage for damage caused by unauthorized modifications or homeowner adjustments. The same applies to openers from LiftMaster and Chamberlain. If your door is under warranty and you adjust the spring yourself, you may be forfeiting coverage that would have paid for the repair. Read the warranty document before you turn a wrench.
The Bottom Line
Your garage door is a system, not a collection of parts. The rubber seal doesn’t know what the spring is doing, and the opener doesn’t care whether the sensor is aligned. What connects them is tension, balance, and timing. When you understand the system, you know which tasks are safely yours and which belong to someone who does this every day. When you don’t, every repair is a gamble. In Grand Rapids, where the cold adds a layer of complexity every winter, the safest approach is simple: handle the rubber, the batteries, the sensors, and the grease. Leave the springs, cables, and tracks to people who know the difference between a quarter turn and a half turn, and why that difference matters in February. Sunshine Garage Door Service covers the full range, from a squeaky roller to a full new door, across the Grand Rapids area. For garage door installation in Kentwood or anywhere else in the metro, one call covers it. The number is (866) 491-7155. The estimate is free. The advice is honest. The door moves. That’s the deal.
Written by the team at Sunshine Garage Door Service home, serving Grand Rapids since 2013.
See the difference
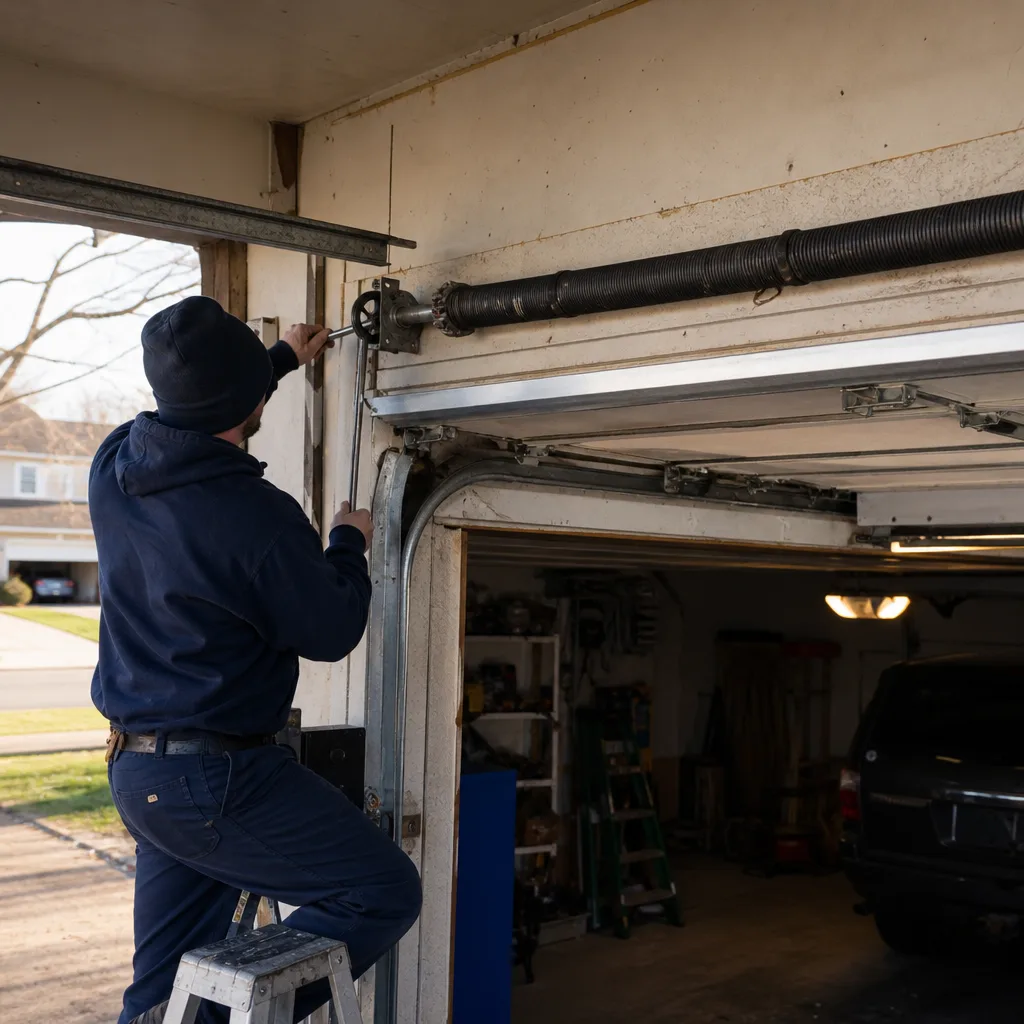 Before
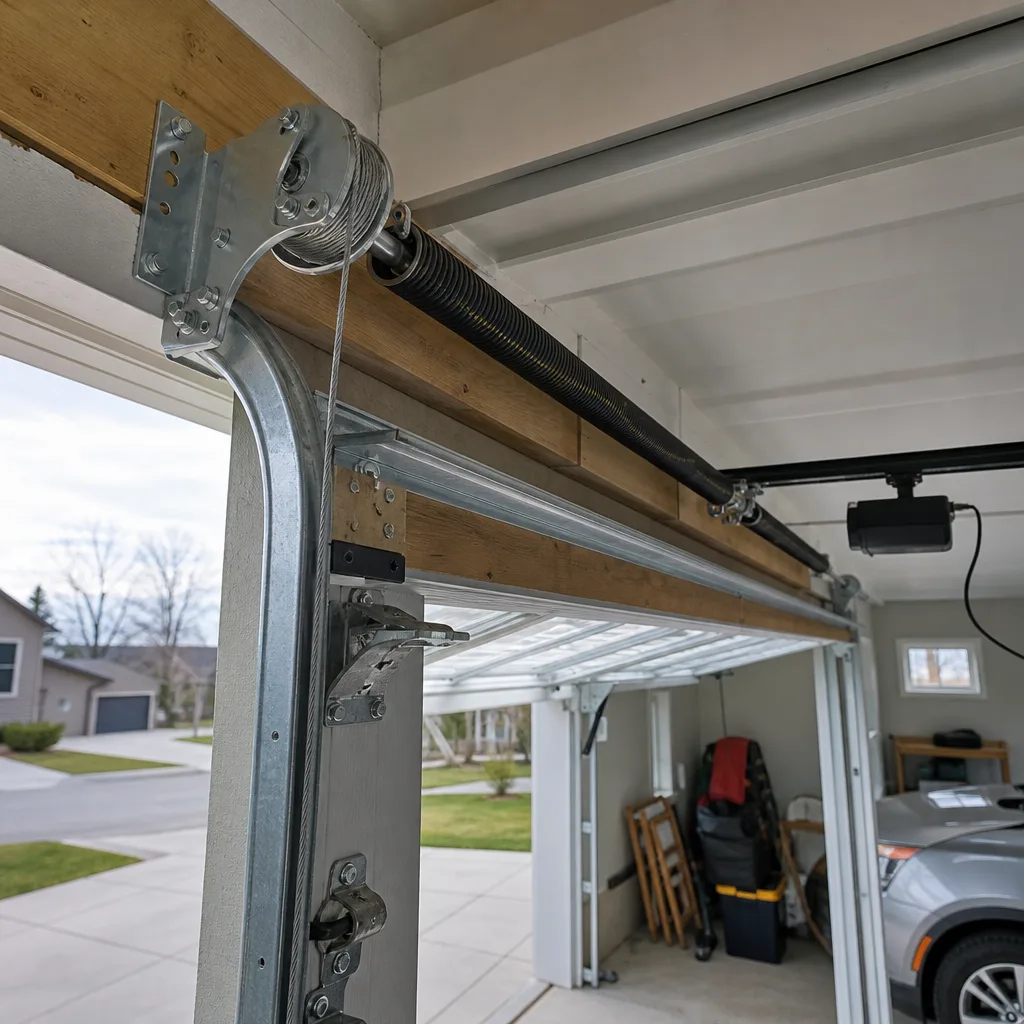 After
 Before
 After
 Before
 After